A pop filter is a small mesh or fabric screen that sits in front of a microphone to reduce the effects of plosives. Common in professional studios, pop filters are also essential for podcasters. Unlike most gear, pop filters are simple and inexpensive to make at home. But what does a pop filter do and how do you make one? Read on!
Looking for a new microphone? Start by looking at the models of some of the more popular brands, like Neumann Microphones or Sennheiser Microphones.
What does a pop filter do?
Pop filters come in a variety of shapes, sizes, and materials, but they all have the same goal: to protect a microphone from disruptive gusts of air called plosives (or p-pops). By diffusing the air before it strikes the microphone capsule, a pop filter eliminates the distortion and ‘popping’ noise that plosives cause. A secondary benefit of pop filters is that they reduce the amount of condensation (saliva) that hits the mic, reducing potential corrosion.
Pop Filter Components
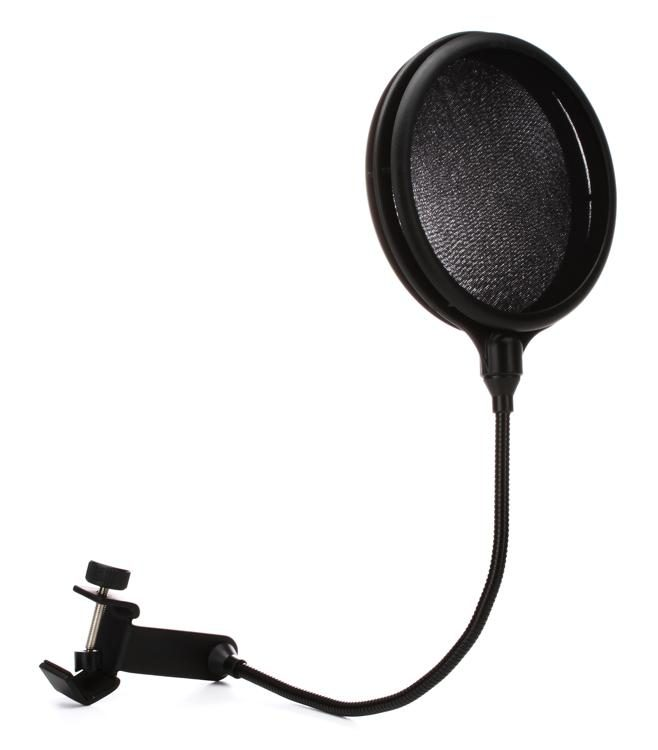
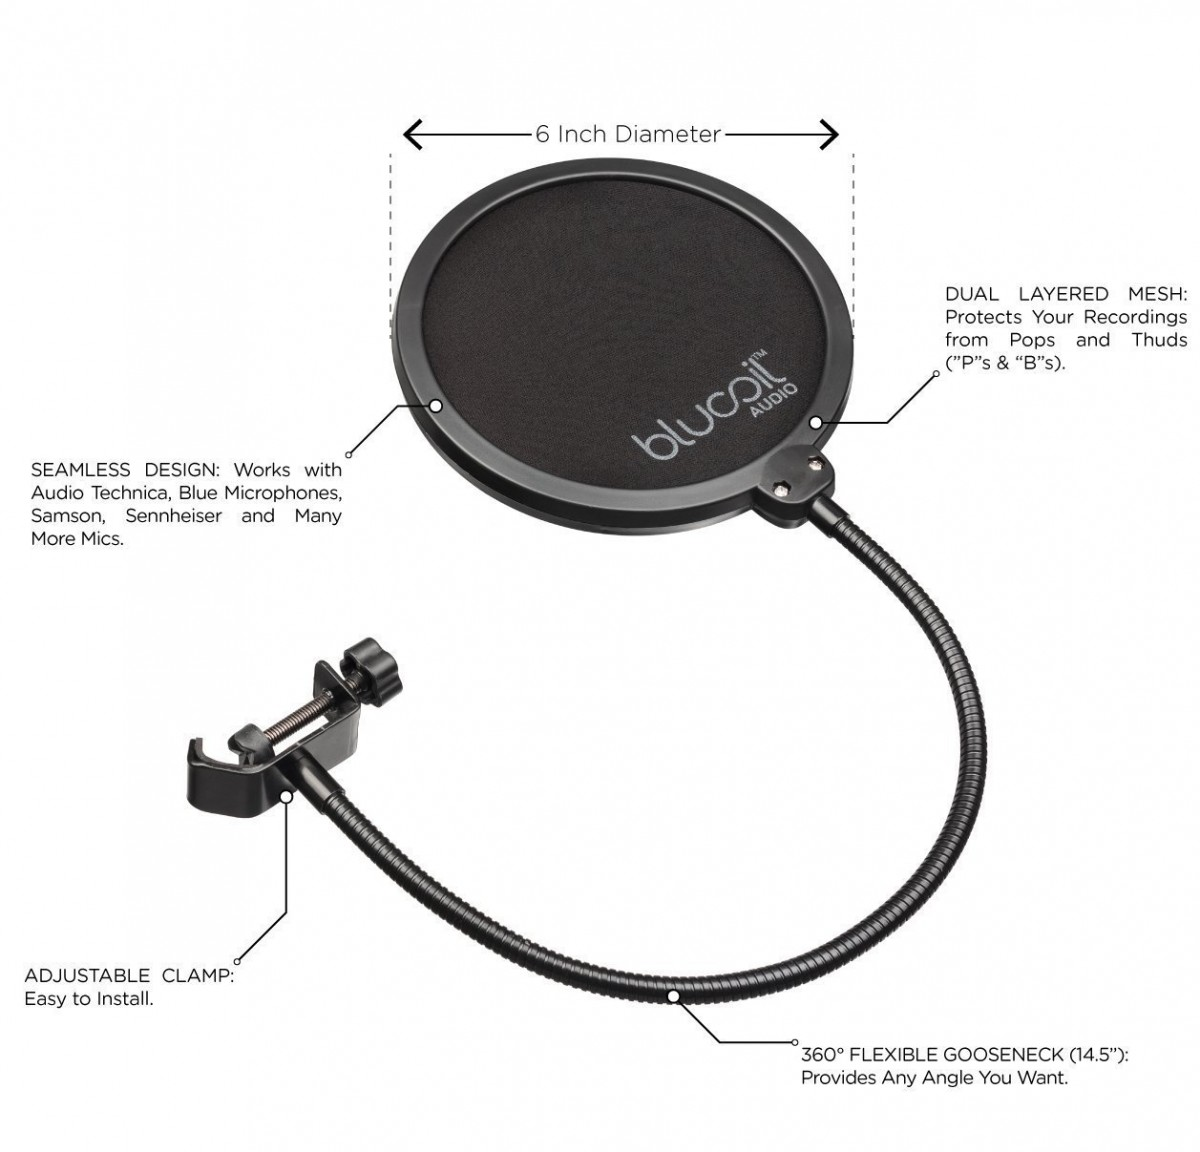
A pop filter has three main components:
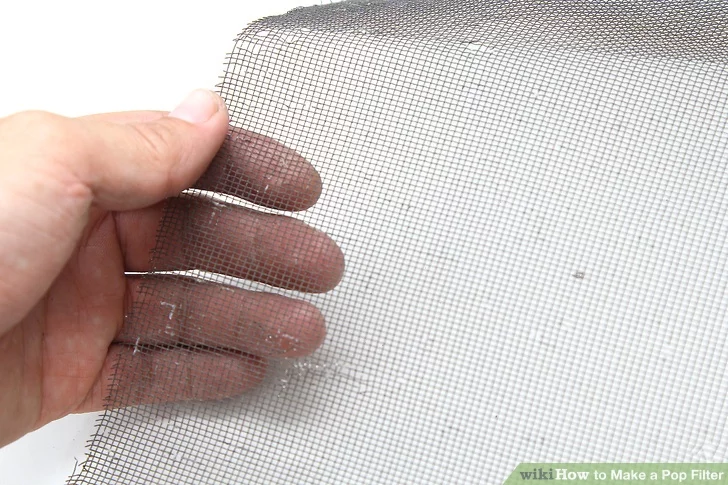
1. Filter: a thin porous screen (usually metal or fabric)
2. Hoop/ring: typically plastic hoop over which a fabric or mesh filter is stretched or a metal ring which holds a screen.
3. Boom arm: a sturdy but flexible boom arm that connects to the microphone stand and allows for optimal placement in front of the microphone.
Pop Filter Shapes
Most pop filters are circular, because they provide good coverage for most microphones, and are simple to make but there are exceptions.
The Avantone PS-1 PRO-SHIELD, for example, uses of a large semi-circle shape, which is then angled for more coverage.
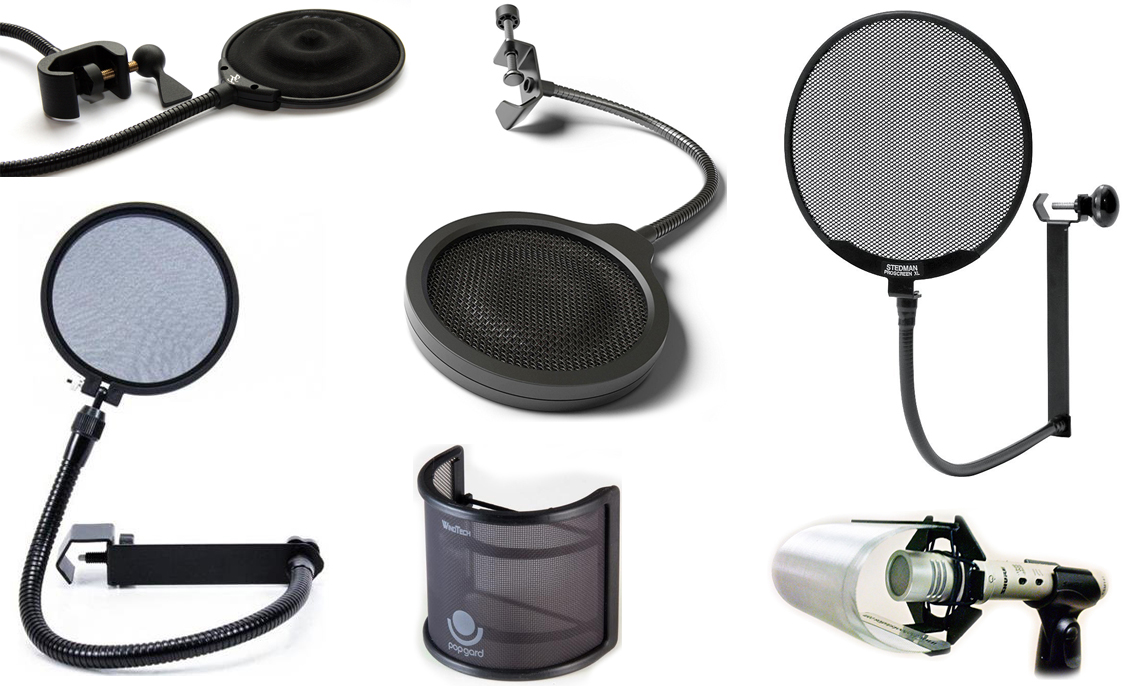
The Windtech PopGuard 2000 is an even more dramatic departure from the typical pop filter hoop design, sporting a large wraparound rectangular filter for complete coverage.
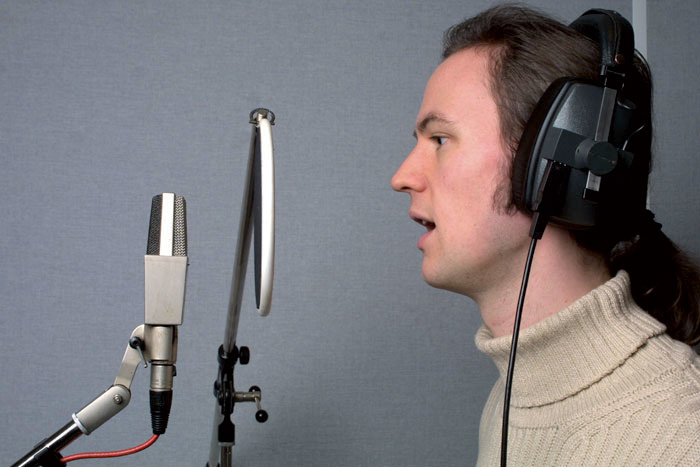
Why Podcasters Should Use a Pop filter
Even if you’re not worried about plosives in your podcast, many of your listeners are. No matter how good the content is, recordings full of p-pops and other nasty plosives suggest that you’re not that serious about podcasting.
Microphone technique (how you address a microphone) can help alleviate plosive issues, but over the course of a long recording session, plosives are bound to pop up, even with experienced podcasters. When recording with inexperienced guests, pop filters become an essential piece of kit, since it’s tough for a newcomer to focus both on mic technique and the interview itself.
A plosive is a speech sound created by the sudden restriction and release of air, causing a ‘popping’ sound. Sometimes called ‘p-pops, plosives are typically associated with the ‘p’ and ‘b’ sound, but can also result from ‘t’, ‘k’, ‘d’, and ‘g’ voicings.
Pro Tip: Still confused about plosives? Try this: hold your hand in front of your mouth and say “WhatPods”–the gust of air at the start of “Pods” is a plosive.
Since microphones are incredibly sensitive to air pressure, plosives can cause distortion when they strike the capsule directly. Instead of reproducing the sound created by the plosive, the impact of the air on the capsule results in a loud, unpleasant ‘popping’ noise that can be distracting for listeners and difficult for producers to remove in post-production.
Whether fabric or metal, the screen of a pop filter reduces the impact of plosive energy by diffusing the air before it reaches the microphone. In other words, a pop filter shields your microphone from your breath by breaking it up and spreading it out so that the air doesn’t strike the microphone diaphragm as violently.
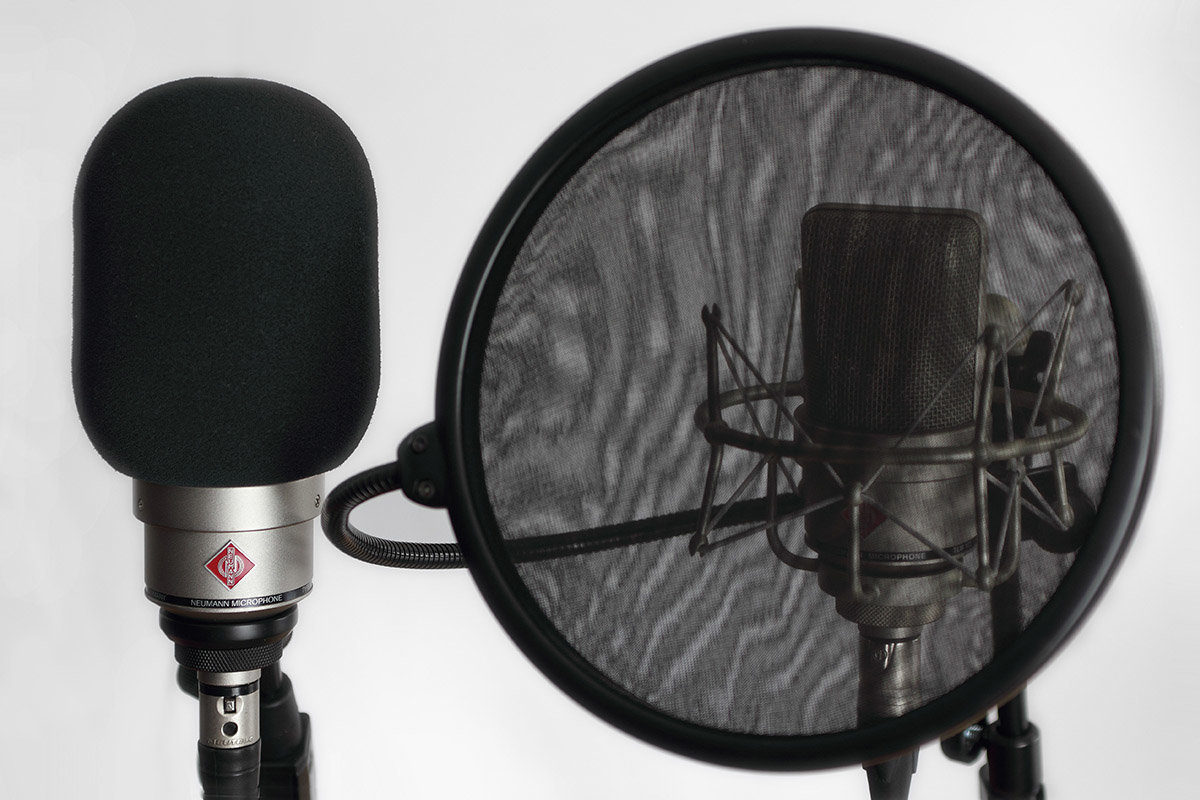
Windscreens vs Pop Filters
A windscreen is a small foam cover for a microphone. Windscreens are cheap, portable, and convenient and they can help protect your microphone from plosives and condensation. While windscreens do diminish the negative effects of plosives, they are not as effective as pop filters, since they attach directly to the microphone and don’t leave space to completely diffuse plosive bursts. If you’re struggling with plosives, and you’ve already tried a basic windscreen, try adding a pop filter.
Buying a Pop Filter vs Making Your Own Pop Filter
There are countless commercial pop filter options out there that are perfect for podcasting, but it’s also cheap and easy to make a pop filter yourself, if you’re ready for some basic DIY.
Buying a pop filter is convenient and offers a reliable solution for plosives, so long as you get a decent one. Be warned, there are lots of there are lots of poor quality pop filters out there too, so check out the WhatPods guide to Pop Filters before you do.
If you don’t feel like ponying up your hard-earned cash for a pop filter, the good news is that that it’s cheap and easy to make an effective pop filter yourself, with only a small amount of materials and minimal DIY expertise.
How to Make a Pop Filter
Making a pop filter at home is easy and requires only a few basic materials. DIY pop filters are also very cheap to make and can perform at a level comparable with much more expensive options. There are also several different types of homemade pop filters to consider, depending on your situation.
Before looking at some different options for how to make a pop filter, let’s review the basic components of a pop filter.
Like a commercial pop filter, a DIY pop filter has three main components:
1. A filter to diffuse plosives
2. A hoop or ring that holds the filter
3. A flexible boom arm that attaches to the microphone or stand
Resourceful podcasters have figured out how to make a pop filter out of a variety of different materials, so don’t be afraid to experiment to find your own solution. WhatPods recommends the following three options, depending on your needs and budget:
1. Clothes hanger and nylon stocking: the classic homemade pop filter, made from easy to find materials
2. Embroidery ring pop filters: these DIY options require more materials, but look more professional
3. A paper pop filter: a temporary solution made with minimal materials
How To Make A Pop Filter With A Clothes Hanger
This is the classic DIY pop filter–an indie musician standby–and surprisingly effective for podcasters in need of a pop filter in a pinch. This pop filter can be made in under five minutes and most of the required materials you probably already have around. It’s not pretty, but it does the job.
Materials and Tools required:
1. Wire clothes hanger
2. Nylon stocking/pantyhose
3. Scissors
4. Electrical tape
5. 2” hose clamp (optional)
6. Pliers (optional)
Steps to makes a clothes hanger pop filter
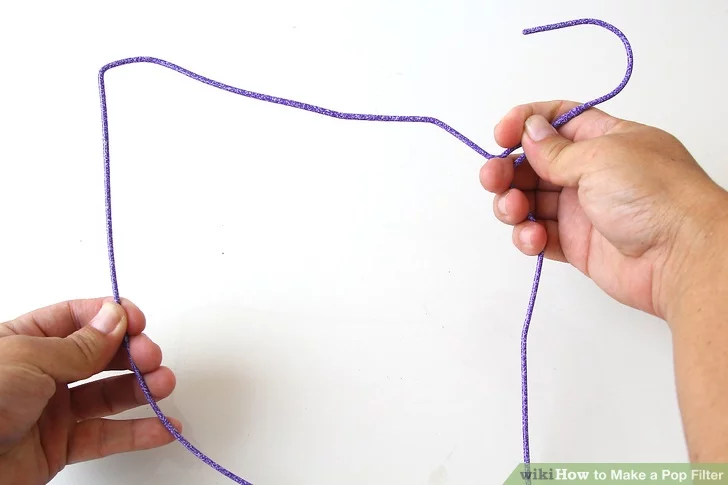
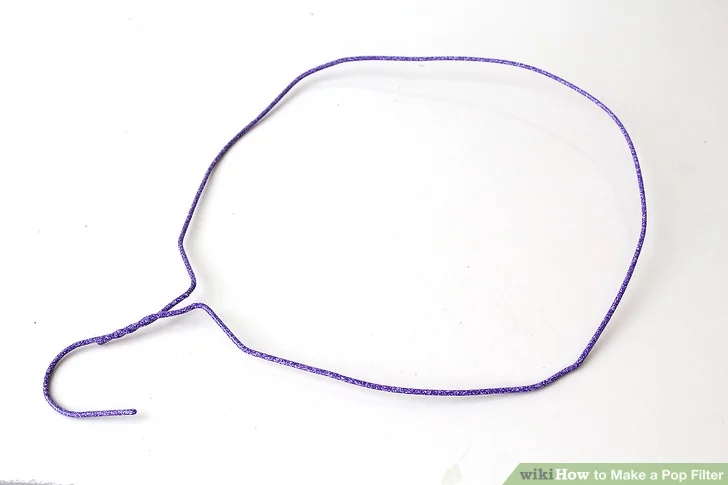
1. Take the wire clothes hanger and spread it apart, starting with the bottom (wide) side of the triangle. Bend the wire outward and shape into a circle, roughly 6-8 inches in diameter. (Pliers might help with this)
2. Cut off one leg of the panty hose, leaving the foot intact
3. Pull stocking over the clothes hanger, until the wire reaches the bottom of the toe. Pull until taut
4. Tape the nylon in place with electrical tape and trim excess
5. Bend the hook of clothes hanger and shape the wire to position the pop filter in front of the microphone.
6. Either tape the hook end of the hanger to the microphone stand with electrical tape or use a sturdy hardware hose clamp available at any hardware store to attach the pop filter to the stand
7. Bend clothes hanger to position pop filter in front of the microphone
How To Make A Pop Filter With An Embroidery Hoop
Using an embroidery hoop rather than a clothes hanger results in a more professional look for your homemade pop filter. Like the first option, this uses a nylon panty hose and embroidery hoops are easy to find at your local craft store. The rest of the materials can be found at most hardware stores and the project is simple enough to accomodate DIYers of all skill level.
Materials:
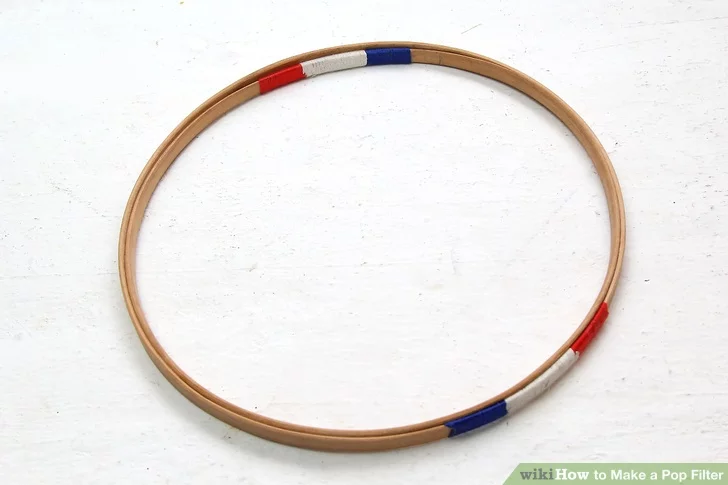
1. 6” Embroidery hoop
2. 2’ Romex wire
3. 1 2 inch hose clamp
4. 1 Nylon pantyhose
5. 8’ zip ties
6. Scissors
7. Screwdriver
8. Split loom conduit tube (optional)
Steps To Make An Embroidery Hoop Pop Filter
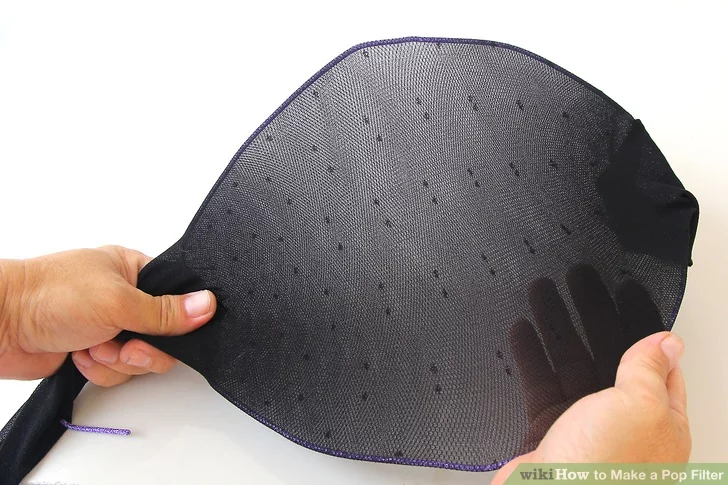
1. Take nylon pantyhose and cut off one leg at the base. Next, cut straight across at the tip of the foot, leaving as much fabric as possible, leaving a long nylon tube.
2. Run your hand inside the stocking and begin to stretch the material and then cut the stocking lengthwise, running your scissors inside the stocking and cutting a long straight line from one end of the stocking to the other.
3. Fold the nylon sheet in half so that it makes a square, two layers thick. Stretch out nylon to cover the embroidery ring.
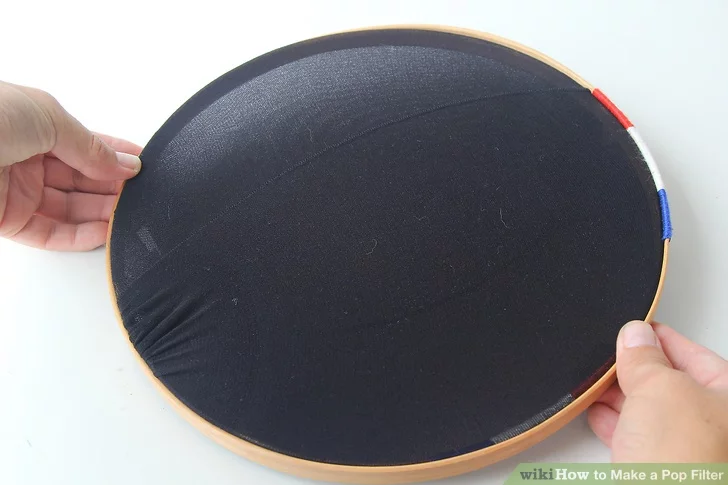
4. Unscrew embroidery ring and stretch nylon fabric across it until it is taut (might be helpful to ask a helper to hold the ring to maintain tightness)
5. Place outer embroidery ring on the inner embroidery ring and screw together.
6. Cut off excess nylon along the edge of the pop filter
7. Place filter on table with rough side up. Firmly Attach Romex wire to the clamp of embroidery ring with 1-2 zip ties.
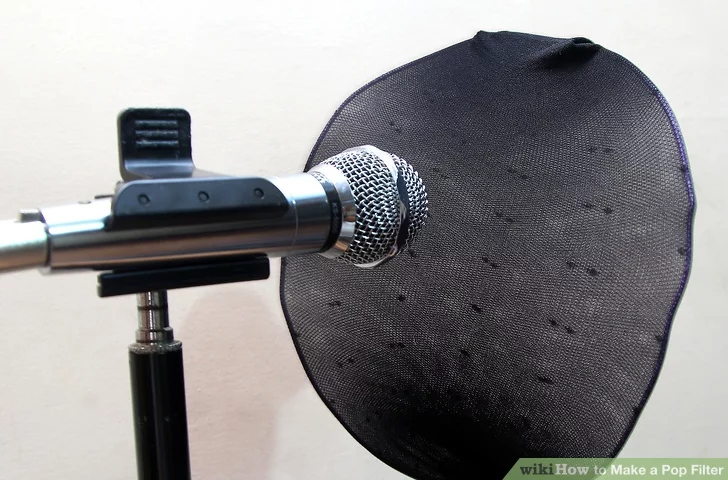
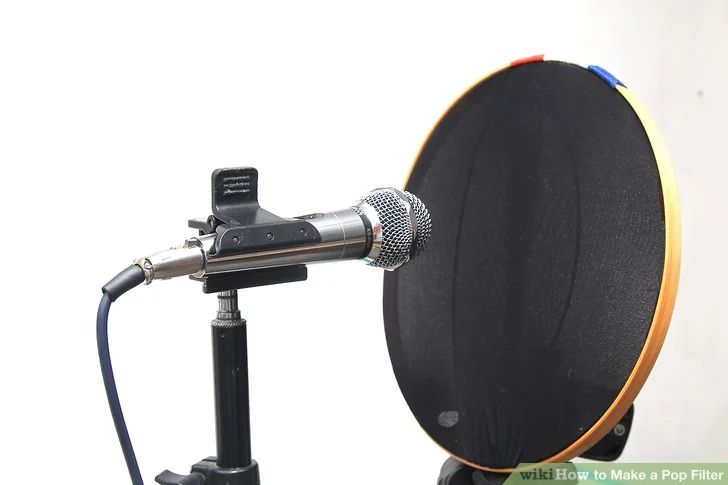
8. Attach hose clamp to the microphone stand or boom arm, making sure it is close enough to the mic to fully cover it.
9. Run the bottom of the Romex wire between the clamp and microphone stand and tighten clamp with a screwdriver until snug
10. Optional:for a more finished look, take length of coloured split loom conduit tube and slip it over the Romex wire, working from one end to the other. Trim to fit.
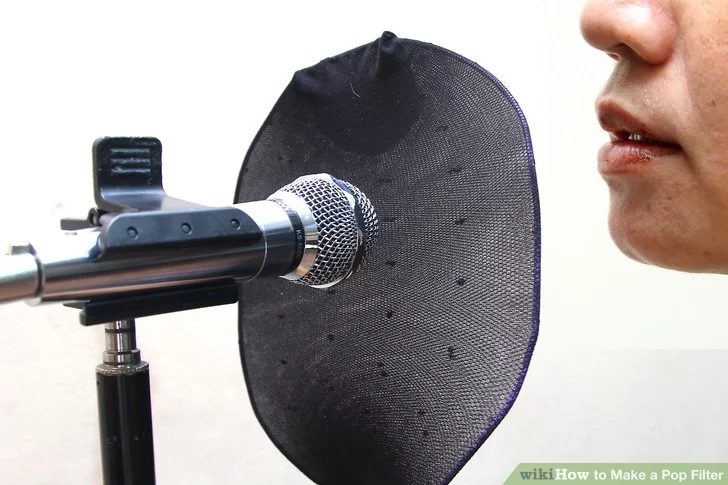
11. Position pop filter arm by bending the flexible Romex wire arm
12. Record plosive free!
How to make a pop filter out of paper
This ingenious paper and tissue pop filter costs almost nothing and requires only minimal materials. While it isn’t the most durable pop filter, it works well and can be made almost anywhere with any kind of paper.
Materials
1. Three sheets of paper
2. Kleenex/tissue paper
3. Scissors
Steps to make a paper pop filter
1. Make a small ½ inch fold on the short side of each of the three pieces of paper, and then repeat on the opposite side.
2. Lay the three pieces end to end, with folds overlapped. Flip the middle paper and nest its opposing folds into the folds of the other two papers, interlocking them.
3. Make a ½ inch fold lengthwise across the three sheets of interlocked paper. Repeat this ½” inch fold multiple times, until only ½ inch of paper remains at the top.
4. Flip the folded section over and fold the remaining ½ inch strip in the opposite direction to create a channel (this will later be the clamp)
5. Fold the paper strip in half and hold it at the bottom, creating a loop at the top. Make a ~4 inch circle with the paper band and hold it to mark the spot
6. Make a small notch in each side of the paper band (on the top edge of one side and the bottom edge of the other)
7. Create a paper loop by nesting the slotted band edges together. They should fit snugly.
8. Next, take the tails of the paper band and fold them at a 90 degree angle, wrapping around the microphone (this is the arm of the pop filter)
9. Notch upper and lower edges of either band and nest together behind the mic, as in step 6.
10. For the filter, take the tissue and fold in half. Fold in half again and roughly tear one corner off the tissue.
11. Unfold. (Your tissue should be roughly circular.)
12. Unclip paper filter frame from the microphone stand and find the channel between the layers of paper that make up the hoop.
13. Slip the edges of the tissue into the channel of the paper pop filter ring, carefully opening the edge of the fold and tucking in the filter paper until complete
14. Re-clip pop filter onto microphone stand
Conclusion
Pop filters are a handy piece of podcasting kit, as they eliminate distracting distortion caused by plosives. While there are plenty of ready-made pop filter options, there are also several cheap and easy options to make a pop filter yourself.
Hear it Crystal Clear with Better Headphones 🎧
Whether you’re a fan of big-ass over-ears, delicate little earbuds or a fancy pair of wireless earphones, you’ll find your next headphone loves here. We’ve tested a tonne of them, to save you the bother. Treat your ears to the phones they deserve!
 you’ve been subscribed.